Vinyl wraps have become a popular choice for vehicle customization, offering a stylish and cost-effective way to transform the appearance of your car without committing to a permanent paint job. Pink vinyl wraps, in particular, are a bold and trendy option for those looking to make a vibrant statement. Here’s a step-by-step guide and key points to consider when applying pink vinyl wraps.
Step 1: Preparation is Key
Before applying the vinyl wrap, thoroughly clean the vehicle’s surface. Dirt, grease, and debris can interfere with the adhesive and lead to an uneven finish. Use a high-quality automotive cleaner and microfiber cloth to ensure the surface is spotless. Additionally, inspect the car for any dents or scratches, as these imperfections may show through the wrap. Repairing these issues beforehand will ensure a smooth application.
Step 2: Measure and Cut
Measure the sections of your vehicle that you plan to wrap. Pink Vinyl Wraps typically comes in rolls, so cutting it into manageable pieces for each panel is essential. Be sure to leave a few extra inches around the edges to allow for adjustments during application.
Step 3: Application Process
Start by peeling off a small portion of the backing paper from the vinyl wrap. Align the wrap with the surface you’re covering and gradually press it down while peeling away more of the backing. Use a squeegee or applicator tool to smooth out air bubbles and wrinkles as you go. Applying heat with a heat gun can help the vinyl conform to curves and edges, ensuring a seamless fit.
Step 4: Trimming Excess Vinyl
Once the vinyl is applied, use a sharp utility knife to carefully trim away any excess material. Be cautious around edges and corners to avoid cutting too deep or damaging the underlying surface.
Step 5: Finishing Touches
After trimming, reapply heat to the edges and corners to seal the vinyl securely. This step helps prevent peeling over time. Inspect the entire wrap for any remaining bubbles or imperfections, and smooth them out as needed.(www.nascarwraps.com)
Key Points to Consider
1. Quality of Vinyl: Invest in high-quality pink vinyl wrap from a reputable brand. Cheaper materials may fade or peel quickly, reducing the longevity of your wrap.
2. Professional vs. DIY: While DIY wrapping can save money, it requires patience and precision. If you’re unsure about your skills, consider hiring a professional for a flawless finish.
3. Durability: Vinyl wraps typically last 3-7 years with proper care. Protect your wrap by avoiding harsh chemicals and using gentle cleaning methods.
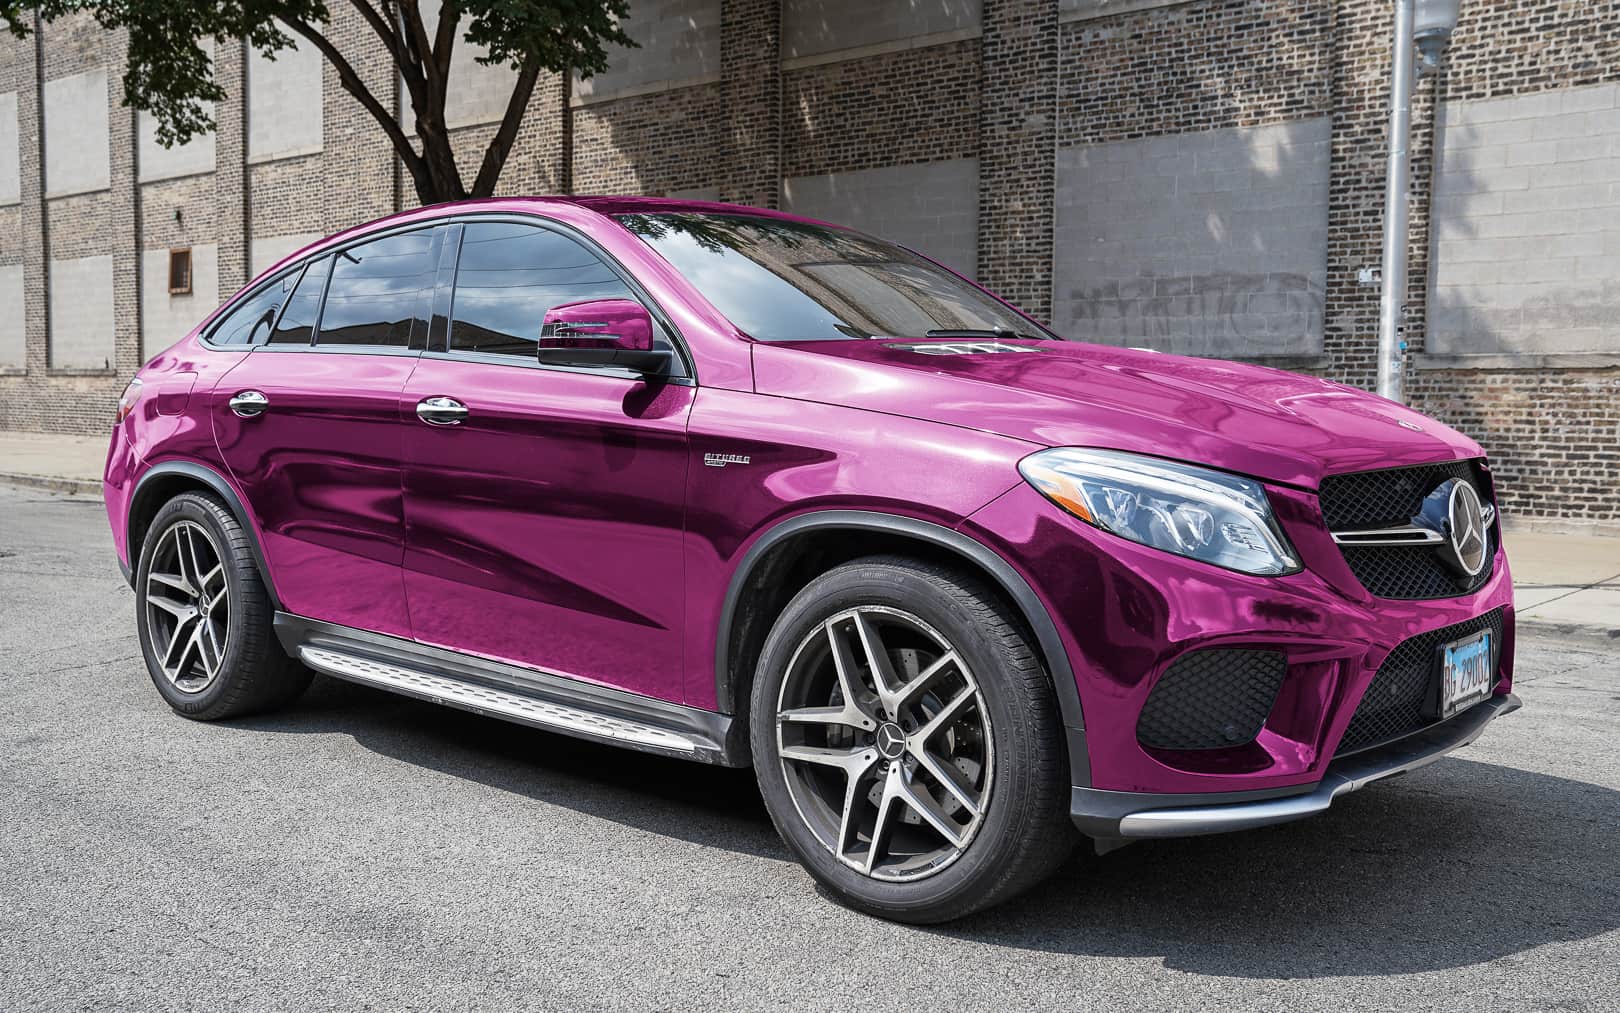
4. Customization Options: Pink vinyl wraps come in various finishes, including matte, gloss, satin, and metallic. Choose one that matches your desired aesthetic.
5. Legal Considerations: Check local regulations regarding vehicle modifications. Some areas may have restrictions on specific colors or designs.
In conclusion, pink vinyl wraps are an excellent way to personalize your vehicle while protecting its original paint. By following these steps and keeping key points in mind, you can achieve a stunning and durable finish that turns heads wherever you go!